_PNG.png)
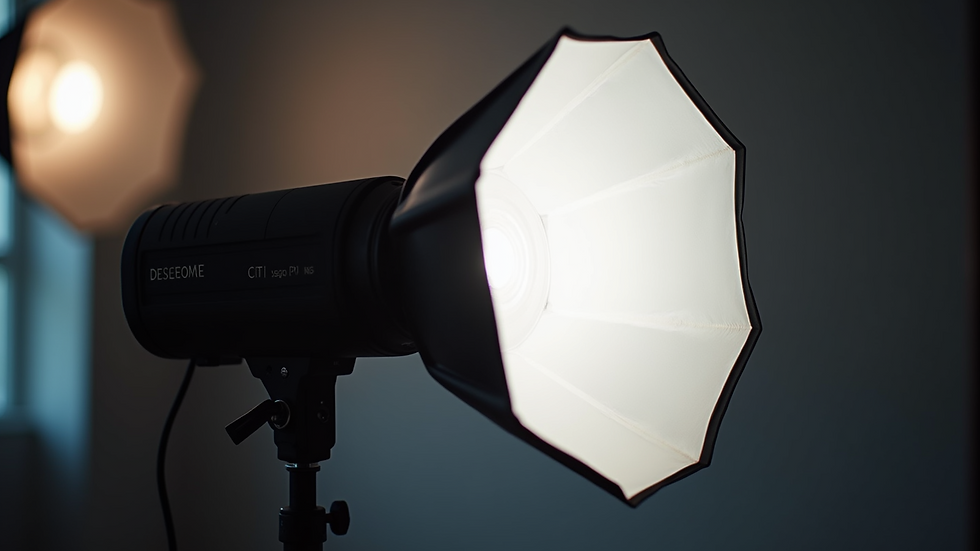
A Beginner’s Guide to Setting Up Studio Lighting
- baddoocreativestud
- Oct 6, 2025
- 4 min read
Setting up studio lighting can seem daunting at first, but with the right guidance, it becomes an enjoyable and creative process. Whether you are photographing portraits, products, or videos, understanding how to control light is essential. This guide will walk you through the essentials of studio lighting, helping you create professional-quality images with confidence.
Understanding Studio Lighting and Its Importance
Studio lighting is the foundation of any successful photo or video shoot. It allows you to shape the mood, highlight details, and control shadows. Unlike natural light, studio lighting gives you full control over intensity, direction, and colour temperature.
There are several types of studio lights, including continuous lights and strobes (flash). Continuous lights are always on, making them ideal for video or beginners who want to see the effect in real time. Strobes provide powerful bursts of light and are preferred for still photography due to their brightness and ability to freeze motion.
When setting up your studio lighting, consider the following:
Light direction: Where the light is coming from affects the shadows and highlights.
Light quality: Soft light creates gentle shadows, while hard light produces sharp contrasts.
Light colour: Adjusting the colour temperature can warm up or cool down your image.
Mastering these elements will help you create images that look professional and polished.

Essential Equipment for Studio Lighting
To get started with studio lighting, you will need some basic equipment. Here’s a list of essentials:
Light sources: Choose between continuous lights or strobes depending on your needs.
Light modifiers: These include softboxes, umbrellas, reflectors, and grids that shape and soften the light.
Light stands: Sturdy stands to hold your lights in place.
Backgrounds: Plain or textured backdrops to complement your subject.
Triggers and cables: For wireless or wired control of your strobes.
Softboxes are a popular choice because they diffuse light evenly, reducing harsh shadows. Umbrellas are more affordable and provide a broader spread of light but can be less controlled. Reflectors bounce light back onto the subject, filling in shadows without adding another light source.
When setting up your lights, always ensure they are securely mounted and cables are safely managed to avoid accidents.
For a deeper dive into studio lighting basics, check out expert resources that explain how to use each piece of equipment effectively.
What is a Typical Studio Lighting Setup?
A typical studio lighting setup often involves three main lights arranged around the subject. This is known as the three-point lighting technique and includes:
Key light: The primary and strongest light source, placed at a 45-degree angle to the subject. It defines the shape and texture.
Fill light: Positioned opposite the key light, it softens shadows created by the key light. It is usually less intense.
Back light (or rim light): Placed behind the subject, it separates them from the background by creating a subtle outline or glow.
This setup is versatile and works well for portraits, product photography, and video interviews. You can adjust the intensity and position of each light to create different moods and effects.
For example, moving the key light closer will create stronger shadows and more dramatic contrast. Increasing the fill light will produce a flatter, more evenly lit image. The back light adds depth and prevents the subject from blending into the background.
Additional lights or modifiers can be added for more complex setups, such as hair lights or background lights, depending on your creative vision.

Tips for Positioning and Adjusting Your Lights
Getting the right light placement is crucial. Here are some practical tips:
Start with the key light: Position it at a 45-degree angle and slightly above the subject’s eye level. This mimics natural sunlight and creates flattering shadows.
Add the fill light: Place it on the opposite side of the key light, at about the same height or slightly lower. Adjust its brightness to control shadow softness.
Use the back light: Position it behind the subject, aimed at the back of their head or shoulders. This adds separation and dimension.
Experiment with distance: Moving lights closer softens the light, while moving them away hardens it.
Use reflectors: If you don’t have a fill light, a reflector can bounce light back onto the subject to fill shadows.
Check your background: Make sure your lights don’t cast unwanted shadows or hotspots on the backdrop.
Always take test shots and adjust your lights accordingly. Small changes in angle or intensity can make a big difference.
Common Mistakes to Avoid When Setting Up Studio Lighting
Even beginners can avoid common pitfalls with a little care:
Ignoring shadows: Harsh shadows can distract from your subject. Use fill lights or reflectors to soften them.
Overexposing highlights: Bright spots can lose detail. Adjust your light intensity or camera settings to balance exposure.
Using too many lights: More lights don’t always mean better results. Start simple and add lights only when necessary.
Neglecting colour temperature: Mixing different types of lights (e.g., daylight and tungsten) can cause colour casts. Use consistent lighting or correct in post-processing.
Poor cable management: Loose cables can cause accidents or damage equipment. Keep your workspace tidy and safe.
By avoiding these mistakes, you’ll save time and produce better images.
Enhancing Your Studio Lighting Skills
Practice is key to mastering studio lighting. Here are some ways to improve:
Experiment with different modifiers: Try softboxes, umbrellas, grids, and gels to see how they affect light quality.
Study light and shadow: Observe how natural light behaves and try to replicate it with your studio lights.
Take online courses or workshops: Many photographers share valuable tips and tutorials.
Review your work critically: Look at your images and identify what lighting setups worked best.
Join photography communities: Share your work and get feedback from others.
With time, you’ll develop an intuitive sense of how to use light creatively and effectively.
Setting up studio lighting is a rewarding skill that opens up endless creative possibilities. By understanding the basics, investing in the right equipment, and practising regularly, you can create stunning images that stand out. Remember to start simple, experiment, and enjoy the process of shaping light to tell your story.


Comments